Installation
The software is provided as a MSI package which installs the executable and the dependence files in your system. To install the software you must follow the following steps:
Download the latest version of the software from the Download page. It should have the format
IID_installer_<version>_x64.msi.Double click on the downloaded file, which will open the installer. It is probable that the system warns about a non-recognized editor. You can accept the message and continue with the installation. It is due to it has not a commercial certificate. More info about it, you can find in Privacy.
Once the installation has started it prompts a window which shows the Terms of use, that you can check also in the Terms page. Click on I accept the tems in the License Agreement and click on Install.

Then, it will install the software in your system and shows a windows informing about the finalization of the process. You can click on Finish.

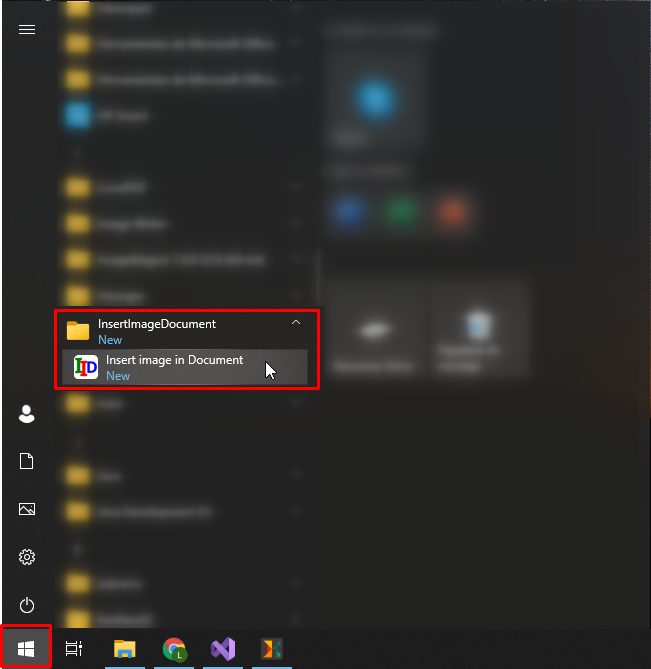
Finally, the software should appear in you Start Menu under the InsertImageDocument folder, or in recently added software. You can launch the software clicking on it.
Uninstall or repair the software installation
You can reinstall the software or uninstall from your system employing the same insaller file.
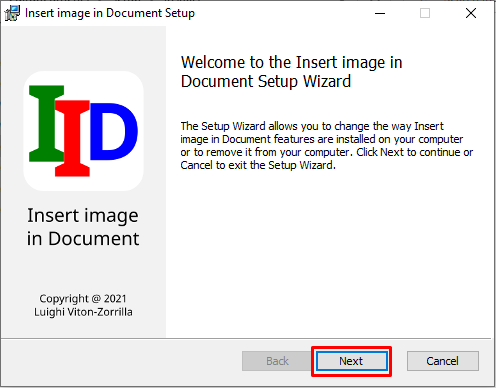
After clicking on it again, it should show a welcome window. You should click on Next.
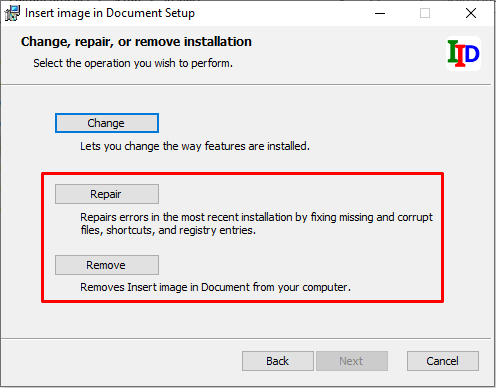
Then, the maintenance window appears from which you could choose if repair, or uninstall the software (it also appears change, but has not action associated, you could ignore it).
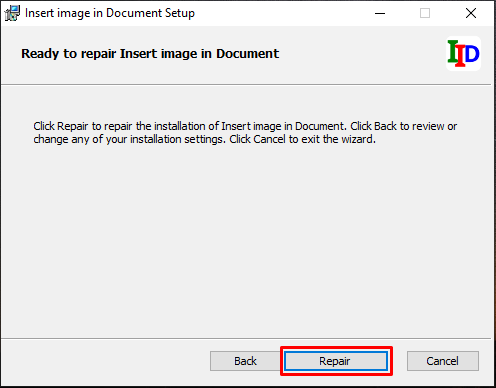
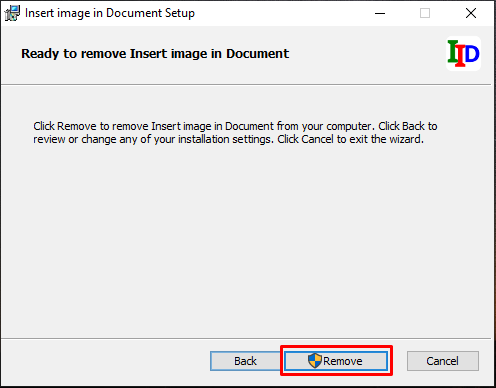
Finally, a confirmation window appears, either if you want to repair or remove the software, from which you must click on the corresponding Repair/Remove button to continue with the procedure.
It continues with the operation and promts the exit window to finish the process.